
My second challenge entry today is the Mid Week Throwdown for OWH. The challenge was Christmas in July. Again the papers are DCWV, the stamp is from HOTP. I colored the reindeer with Copics, but the rest is my new Smooch! Let me know what you think!


 The papers are DCWV, Bazzill cardstock and stamps from HOTP. I just got Smooch and I highlighted the tree with it - I'm already in love with Smooch! I have 10 colors and may just have to paint my dog, Nugget.
 The Cuttlebug Challenges was also a sketch during their Christmas Festival week. All papers come from DCWV. I used the Swiss Dots folder and then lightly sanded the dots. I usually have a tough time adhering vellum, but the ribbon made it easy: I glued the top of the saying and hid it under the ribbon!


 I usually don't like sketches, but this one at the Corrosive challenge Blog was simple enough that I thought I could do it! I've combined it with the Operation Write Home Mid-week Throwdown
 I love this holder! Everything is upside down so it is always ready to go! Problem is, I've already outgrown it so Paul (my DH) has making me an additional one on his "honey do" list.
 yellow cardstock and covered the seams with white knotted ribbon. When I was done, I had bits and pieces left and it was enough to make 2 more cards mosaic style! I made envelopes out of yellow copy paper using my Martha Stewart scoring board. I think I've hit on my SILs Christmas presents! I love the look of alcohol inking and how no 2 pieces come out looking the same. I also used my Cricut to cut out the letters - I rarely ever use it in my crafting, but it certainly made this project go faster.

 My daughter, Toni, is spending the summer in California working an internship as part of her college scholarship. We are all very proud of her! She returns in August for her Senior Year at the University of Maine, Orono where she is majoring in Computer and Electrical Engineering. After she graduates she has a civilian position waiting for her with the US Air Force. The problem, for me anyway, was that she wanted to have her car in California for the summer and she thought it would be fun to drive herself cross country! I vetoed that idea and her brother, Alex, who is also at UMO as a grad student in Chemical Engineering took some time off to drive with her. Because of her school schedule she had 6 days to travel from Maine to California, get settled, and start working. We all had breakfast together before they left and I wanted to take a picture to scrap the start of her new adventure. You can tell in the pictures neither one of them thought that was such a good idea! The PP is from HOTP and the border punch is from Tonic. It's a simple, fun layout.
 I've been sending her a card a week just to keep in touch. She likes e-mail and cell phones and I do to, but I like crafting cards for her! I was looking through some blogs this morning and I stopped by Fab's blog and saw his post about Crafty Catz and a digital freebie. Now, free is my favorite price so I clicked on over and found a wonderful business! This charming guy (he looks like a boy dog to me) caught my eye right away, the set is named Alaska and when my husband and I took a cruise there we saw a presentation about Huskies and the Iditarod. So I snatched him up along with a few other goodies. Pamela, the owner of the shop was wonderful, answered my e-mail right away and provided great customer service! I printed the background on plain paper and the dog image on photo paper. I used Scor tape around the edges of my card and added loose glitter (it works great!) used a Spellbinder's label and put the card together quickly - I just noticed he is crooked - I'm going to blame it on my asthma meds, they make me shaky...
 Last today was finishing up a goodie bag project - also for Toni! These are little milk boxes in a holder, there are 4 in all. I used neon cardstock from Joanne's, a Michael Strong stamp which I embossed with neon green embossing powder from Zing and I filled each one with Starburst. Truly not my best work, but I know she is going to love it, eat all the candy and then throw it away! That's ok though, she saves all my cards.


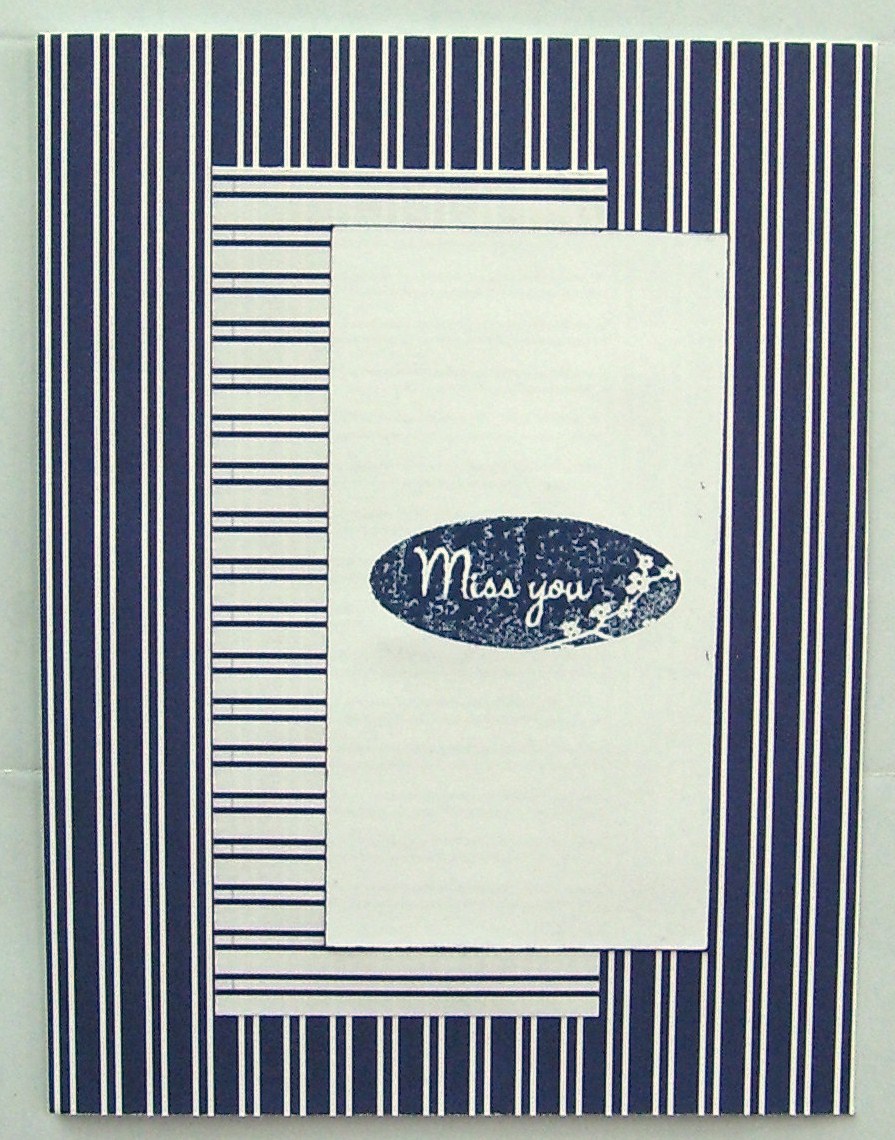
 I used 2 different folders on this card. Again, both come from the oriental weave assortment. I must admit, the bamboo had me stumped at first! I embossed it on to a textured-looking PP and used my Memento Rich Cocoa to highlight the embossing. I then embossed a small piece of vellum for the upper right hand corner as a backdrop for my sentiment.
 For the one on the left: after I had used my brayer and red ink for the Celebrate card above, I ran my brayer across a piece of cardstock which gave me a slight impression of the embossing folder! The Memories Metallic inks are very "juicy" and I didn't want to waste the ink. The purple one gives you a better sense of the floral folder. To both of them I added a little bling!

 This image above is using some of the absolutely gorgeous Stampscapes stamps. Using them is addictive! The detail and depth of these rubber stamps is a joy to work with. This piece was made using Lakeside Cove, one of my favorites, it is everything but the ducks!
 This was my first full page piece. The young lady is a little large proportionally (or so my engineer son told me), but it is still a very pretty image. I used the crooked path, rocky peaks, meadow, sedge filler and my favorite oak branch. This was done on shiny cardstock (Stampin Up) and used various Stampin Up and Staz-on inks.
 This image was done on Stampbord, which was a
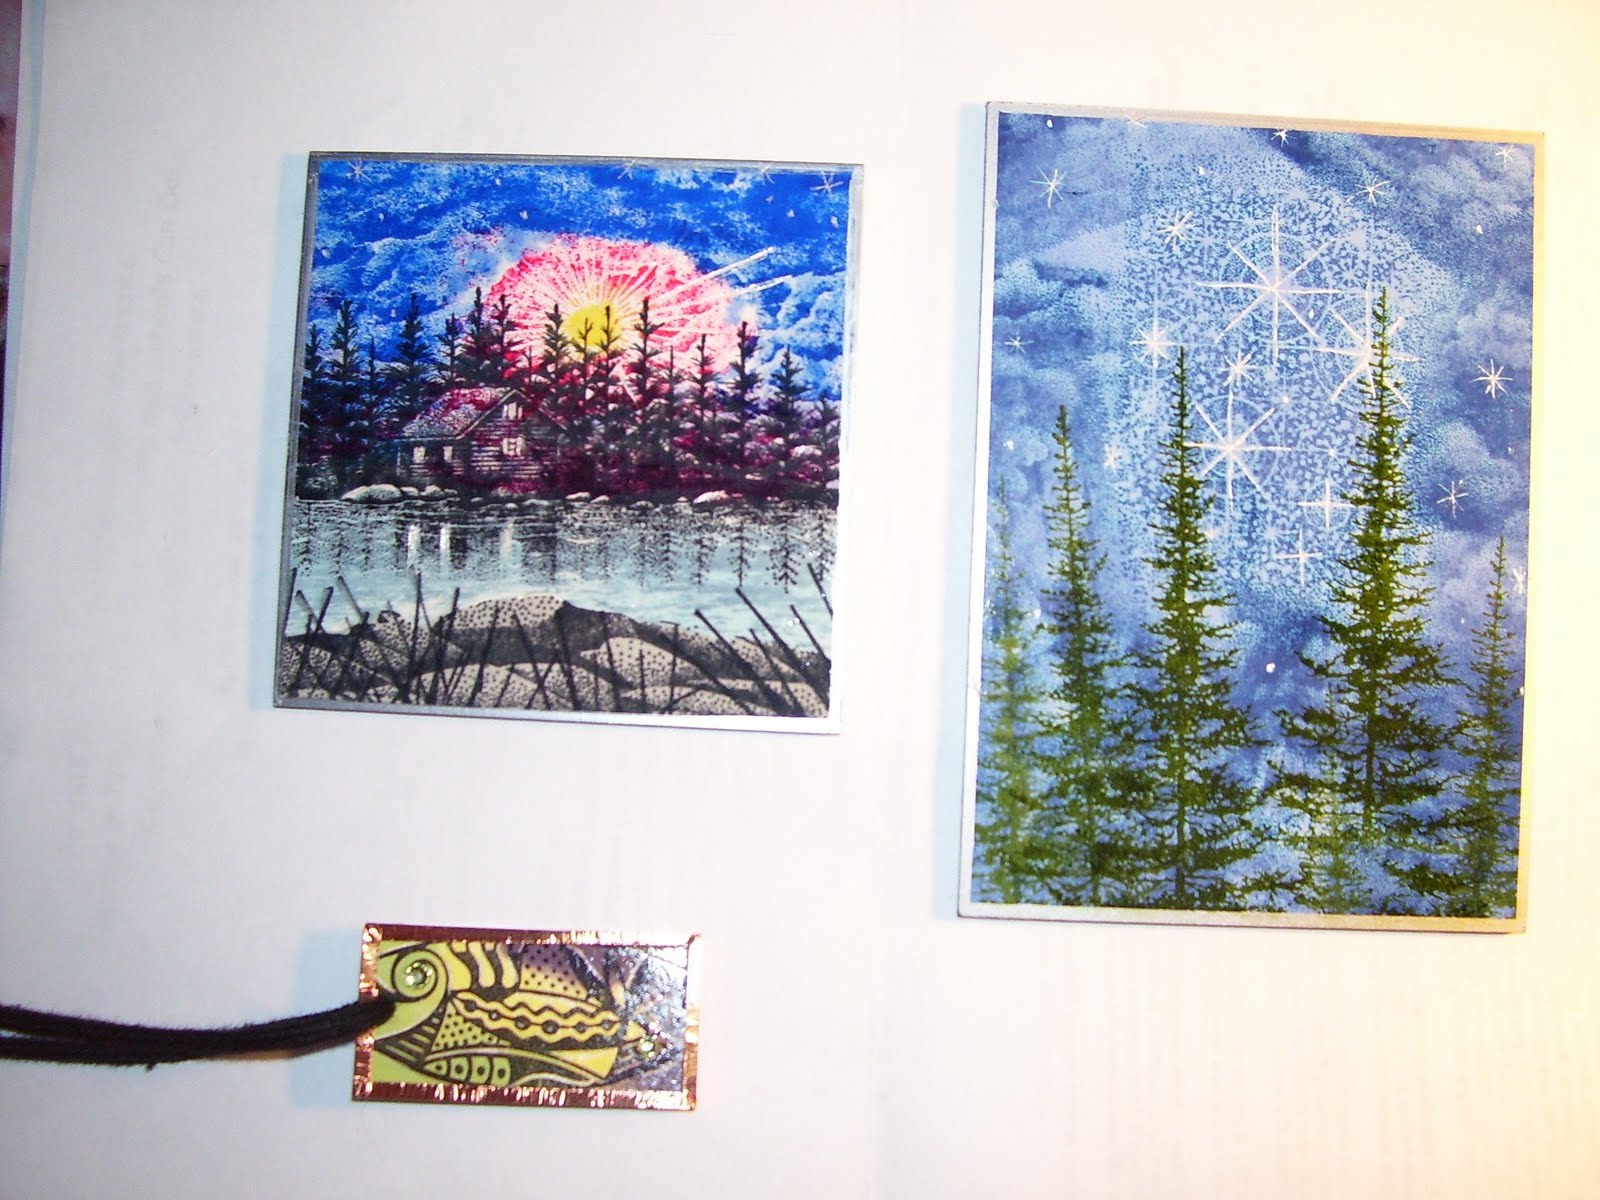 These images are also done on stampbord with Stampscapes and other manufacturers. The small piece is a Michael Strong stamp which I turned into a pendant.